Webtop
Accessing XPipe remotely from your browser
Introduction
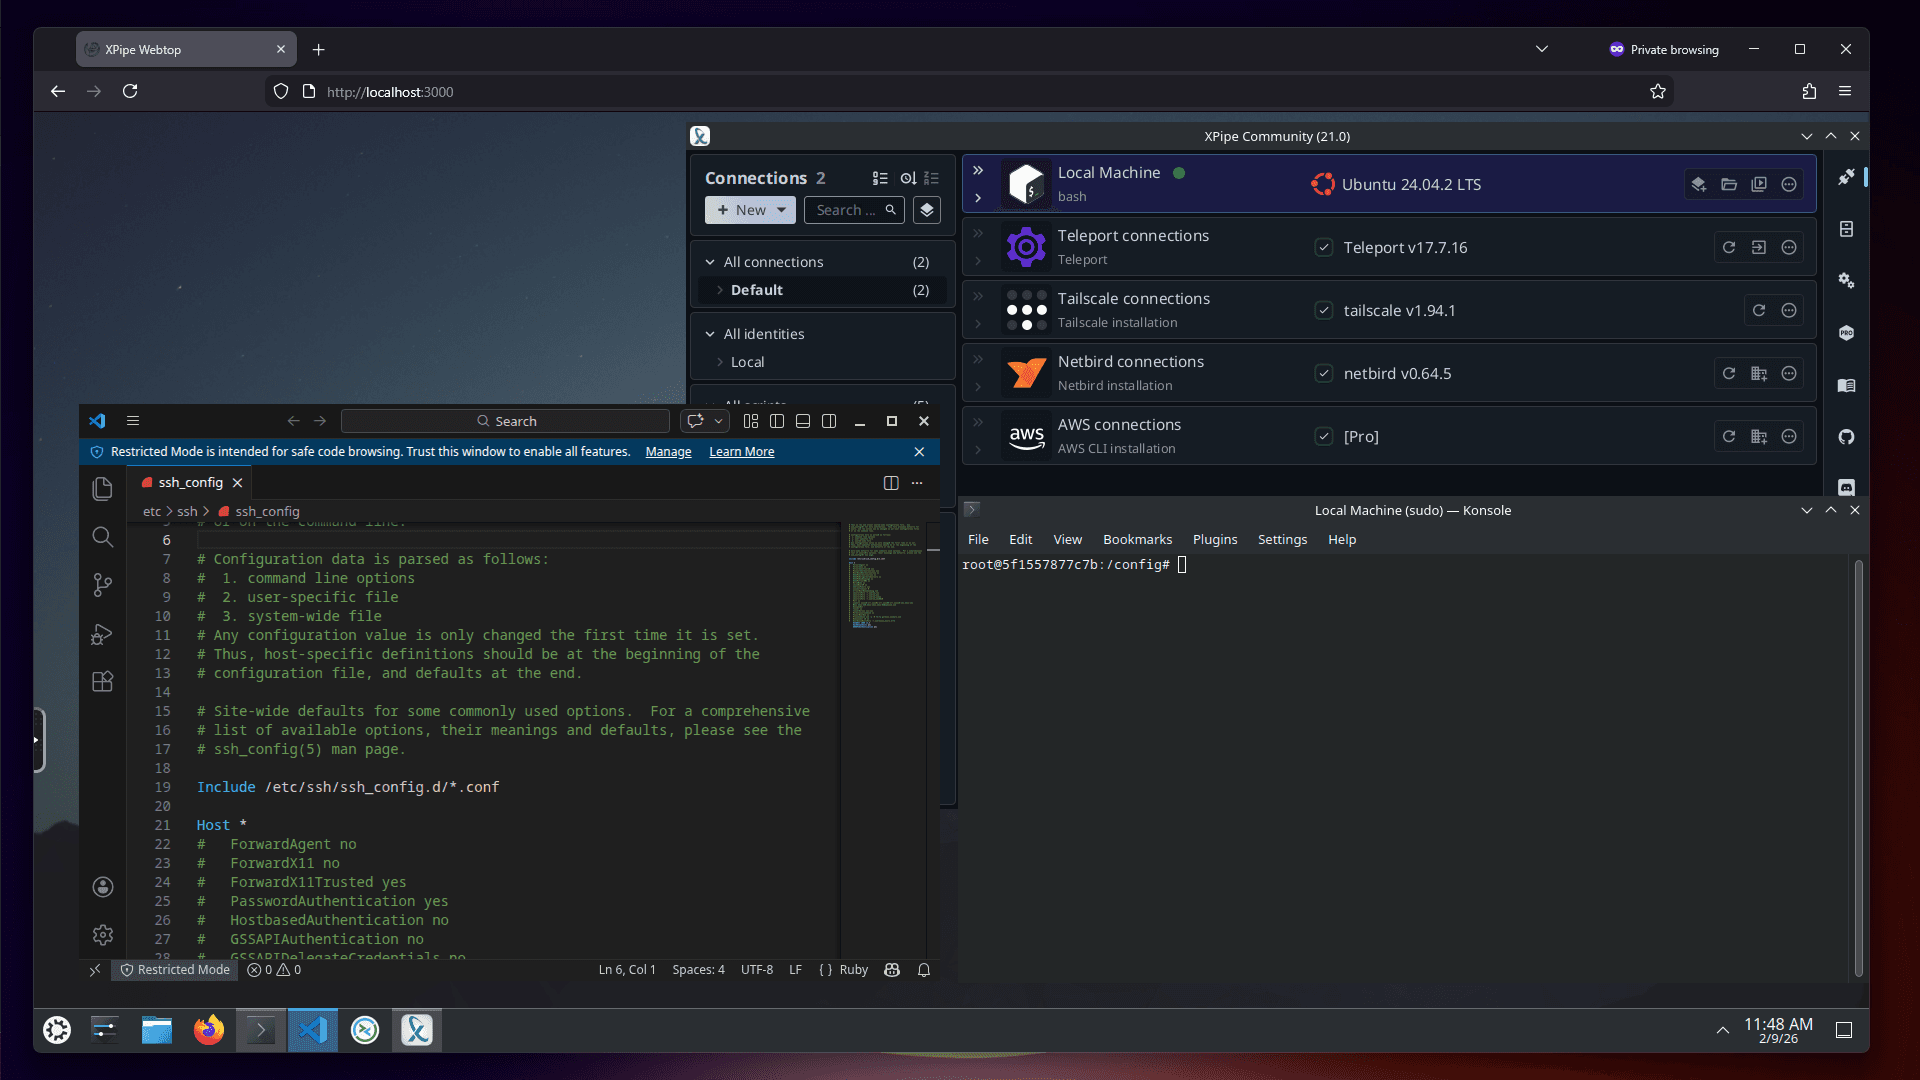
XPipe is a desktop application first and foremost. It requires a full desktop environment with various installed applications such as terminals, editors, shells, CLI tools, and more to function. So there is not the possibility of creating a pure web-based interface for XPipe that comes with all features built into XPipe itself.
Since it makes sense to access your XPipe environment from the web, there is the so-called XPipe Webtop docker container image available. XPipe Webtop is a web-based desktop environment that can be run in a container and accessed from a browser via KasmVNC. The desktop environment comes with XPipe and various terminals, editors, and more tools preinstalled and configured.
Setup
The webtop image can be found at ghcr.io/xpipe-io/xpipe-webtop:latest. All images can be found in the webtop container registry. The webtop has the default ports to access the web interface at:
Environment variables
There are additional environment variables and run configurations to enable or disable specific functionality:
| Variable | Description |
|---|---|
| CUSTOM_USER | HTTP Basic auth username, abc is default. |
| PASSWORD | HTTP Basic auth password, abc is default. If unset there will be no auth |
| SUBFOLDER | Subfolder for the application if running a subfolder reverse proxy, need both slashes IE /subfolder/ |
| LC_ALL | Set the Language for the container to run as IE fr_FR.UTF-8 ar_AE.UTF-8 |
Authentication
The authentication layer setup has to be done by you. By default, there is no authentication enabled and the webtop will be available to everyone. So you have to be careful not to publicly expose it in that state.
As seen above, there are options to use basic HTTP authentication to restrict access with the CUSTOM_USER and PASSWORD environment variables.
However, this might also not be considered very secure, and it is recommended to use a proper separate authentication solution in front of the actual webtop environment.
This can be your own VPN, where the webtop is only available within. Alternatively, you can use authentication providers like Authelia, Authentik, KeyCloak, and others.
Language Support
The environment variable LC_ALL can be used to start this image in a different language. For example, to switch to the chinese locale, you can pass this additional environment variable:
-e LC_ALL=zh_CN.UTF-8The web interface has the option for "IME Input Mode" in the settings, which will allow non english characters to be used from a non en_US keyboard on the client. Once enabled, it will perform the same as a local Linux installation set to your locale.
DRI3 GPU Acceleration
The webtop performance is decent even without any hardware acceleration. However, if you are looking for the maximum performance, utilizing hardware acceleration is a possibility.
Render devices can be mounted into the container and leveraged by applications using:
--device /dev/dri:/dev/dri
This feature only supports Open Source GPU drivers:
| Driver | Description |
|---|---|
| Intel | i965 and i915 drivers for Intel iGPU chipsets |
| AMD | AMDGPU, Radeon, and ATI drivers for AMD dedicated or APU chipsets |
| NVIDIA | nouveau2 drivers only, closed source NVIDIA drivers lack DRI3 support |
The DRINODE environment variable can be used to point to a specific GPU.
Up to date information can be found here
Networking, Tailscale, and Netbird
By default, a docker container does not have access to the network tunnel driver (TUN) or the host system. For most types of connections this one is not needed, so it will work fine without it.
If you are planning to use networking tools like tailscale in the webtop, you will have to pass the TUN device to the container and run it with privileged network permissions. Otherwise, the tailscale daemon won't be able to start. You can do this by passing the following arguments to the container:
--cap-add=NET_ADMIN --privileged
Installation commands
To help you get started creating a container from this image, you can either use docker-compose or the docker cli.
linux/amd64 and linux/arm64 platforms.docker-compose
services:
  webtop:
    image: ghcr.io/xpipe-io/xpipe-webtop:latest
    container_name: xpipe-webtop
    cap_add:
      - NET_ADMIN # optional, to enable tailscale
    privileged: true # optional, to enable tailscale
    environment:
      - SUBFOLDER=/ #optional, to run in a subfolder reverse proxy
    volumes:
      - /path/to/data:/config
      - /var/run/docker.sock:/var/run/docker.sock #optional, to access host containers
    ports:
      - 127.0.0.1:3000:3000
      - 127.0.0.1:3001:3001
    restart: unless-stopped
docker cli
docker run -d \
  --name=xpipe-webtop \
  -e SUBFOLDER=/ `#optional, to run in a subfolder reverse proxy` \
  --cap-add=NET_ADMIN `#optional, to enable tailscale` \
  --privileged `#optional, to enable tailscale` \
  -p 127.0.0.1:3000:3000 \
  -p 127.0.0.1:3001:3001 \
  -v /path/to/data:/config \
  -v /var/run/docker.sock:/var/run/docker.sock `#optional, to access host containers` \
  --restart unless-stopped \
ghcr.io/xpipe-io/xpipe-webtop:latestUsage as an API server
By default, the nature of XPipe and the git vault is decentralized, meaning that there isn't a central backend server to manage your vault. This makes it a bit complicated in enterprise environments where server changes should be propagated to a synced vault automatically, as there is no central server to send those vault update requests to.
You can choose to utilize the webtop container as a sort of central API server that you can host to automatically update a synced git vault via API requests. To enable this, you will have to pass the environment variable XPIPE_API_SERVER=true to the container and map the port 21721 with -p 21721:21721. This makes the container listen on port 21721 to accept HTTP API requests. For more details on the API for automated connection and vault interaction, see the API page. The rest of the webtop will work normally, meaning that you will still have access to the graphical interface when the API server setting is enabled.
Kasm Workspaces
Kasm Workspaces provides browser-based access to on-demand containerized desktops and applications. It is essentially a system to run graphical web-based desktops like this with less setup than a manual docker setup would require. If you are using Kasm Workspaces, this image is also available in the XPipe Kasm Registry. You can add this registry to your registry list, which allows you to automatically retrieve XPipe Webtop in your Kasm Workspace. It is preconfigured, so it will run out-of-the-box.
Usage
You will initially start out with an empty installation of XPipe. It is therefore recommended to use the git sync feature of XPipe to quickly transfer all your connections to the new webtop installation. All your data is stored in your user directory at /config, you should therefore make it a persistent docker volume to preserve this data. You can also install further applications, however, these will not be preserved on container rebuilds or upgrades as these packages are usually not installed into the user home.
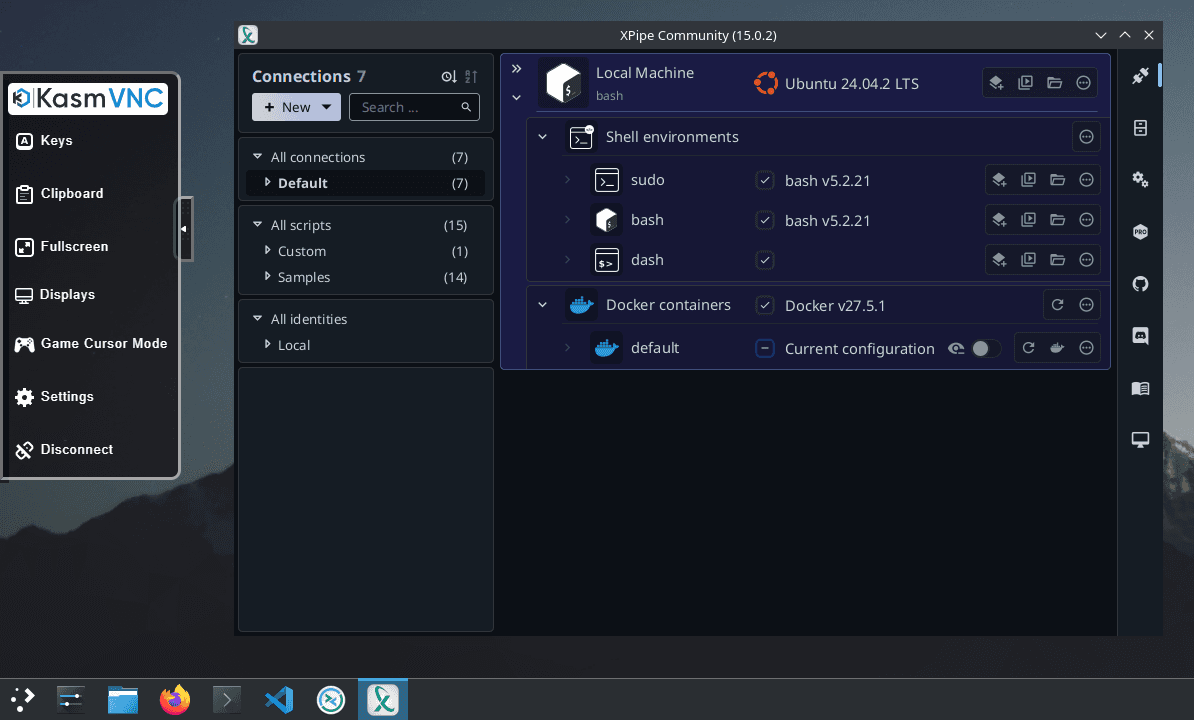
VNC actions
To perform various VNC actions, such as simulating special key presses, changing the clipboard, changing the display configuration, and more, open the sidebar on the left side:
Clipboard
The clipboard handling is dependent on how well your current browser supports it. It is recommended that you use chrome, that way you will have the seamless clipboard where changes on both sides are instantly reflected.
If you are using another browser like firefox, the clipboard is not as seamless and you have to manually set it each time. You can do that in the sidebar that you can expand on the left in the clipboard section. On firefox, you also sometimes get a paste button when focusing the webtop. This is a firefox-specific issue and will disappear if you use another browser.
External access
If you want to have access to the system shell of the webtop container or access the file system from the outside, you can use XPipe as normal from your desktop. The webtop container is just another Docker container in the eyes of XPipe, so you will have easy access to it if you have access to the docker context of the host.

Updating
The published images are static, versioned, and require an image update and container recreation to update it. Below are the instructions for updating containers.
docker-compose
Update image:
docker-compose pull xpipe-webtopUpdate container:
docker-compose up -d xpipe-webtopYou can also remove the old dangling images:
docker image prunedocker cli
Update the image:
docker pull ghcr.io/xpipe-io/xpipe-webtop:latestStop the running container:
docker stop xpipe-webtopDelete the container:
docker rm xpipe-webtopYou can also remove the old dangling images:
docker image pruneYou can recreate the new container with the same docker run parameters as instructed above. If mapped correctly to a host folder, your /config folder and settings will be preserved.
Contributing
If you want to make local modifications to these images for development purposes or just to customize the logic:
git clone https://github.com/xpipe-io/xpipe-webtop.git
cd xpipe-webtop
docker build \
  --no-cache \
  --pull \
  .