File browser
Learn how to optimize your file browser workflow
Introduction
The file browser is a major component of XPipe. Contrary to most other tools, the file browser primarily works with raw shell sessions, not any protocol like SFTP or SCP (Although it supports that as well). This means that the file browser is supported on any system that you can open a remote shell to.
To realize its functionality, it uses standard shell tools that are available on most systems like touch, mkdir, dd, and many more. On other platforms, it will use the equivalents of these programs. For systems that are lacking some basic tools as do some busybox systems, XPipe tries its best to dynamically adapt its implementation based on what's available. Overall, the experience is pretty uniform but might slightly differ for different systems due to these circumstances.
While the basic file browser interface and workflow is pretty standard, there are still a few features that might need additional explanation or instructions. This page contains these instructions.
Splitting tabs
If you are looking for a more commander-like workflow with split tabs, you can achieve this via the tab pinning feature:
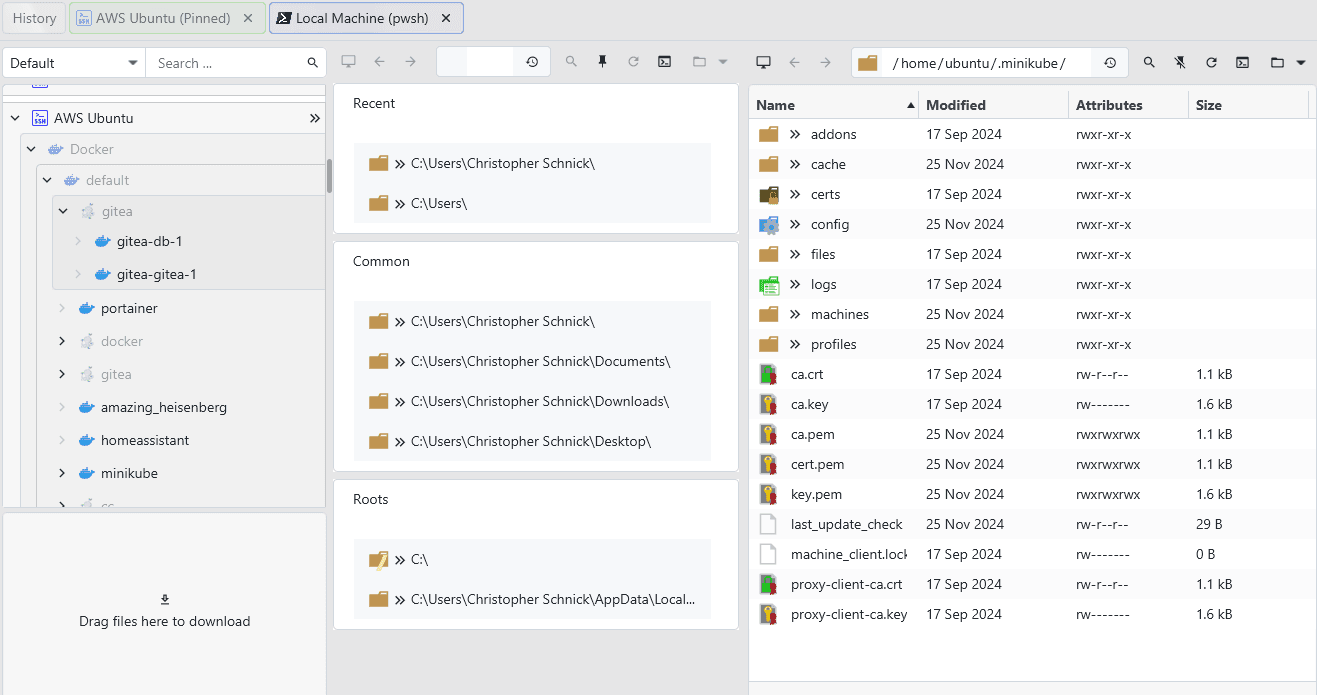
You can choose to pin or unpin any tab at any time. The pinned tab will then always be shown next to your currently selected tab. In case your workflow is mainly about pinning a local machine tab, you can automatically pin this tab at startup in the settings menu.
Downloading files
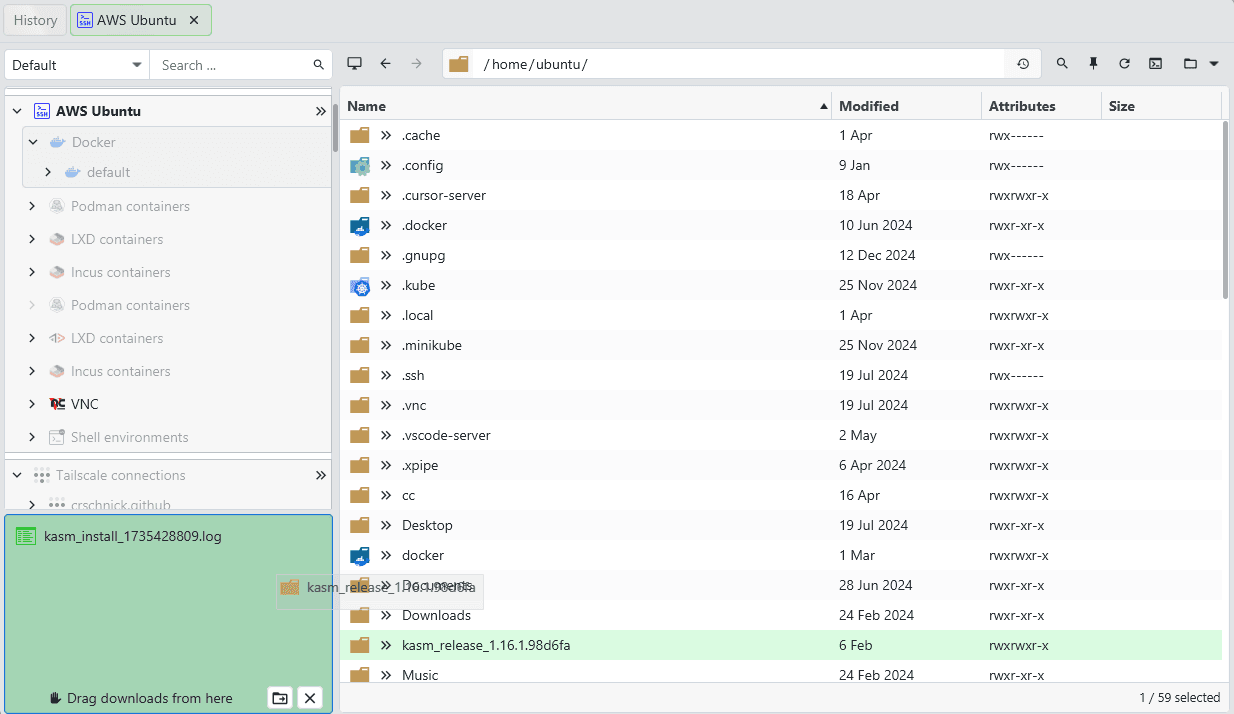
Downloading files in the file browser works by dragging and dropping files and directories into the download pane at the bottom left:
Since remote files are not locally available prior to the download finishing, you can't directly drag and drop them into your local desktop environment. The idea is to first download the files in the download pane and then drag them from there into your desktop environment like the Windows explorer:
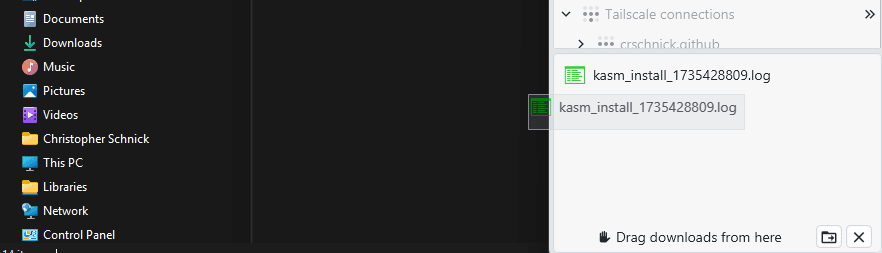
You can achieve a native drag-and-drop workflow to drop files into other applications, you just have to go through the intermediate download pane first. You can also trigger a download in the right-click menu of files.
By default, files are downloaded into a temporary directory until they are moved. This can be done by dragging them from the download pane as explained or alternatively by clicking the Move to downloads button at the bottom of the download pane. This will automatically move all files into your local downloads directory. You can change the target location for this action in the settings menu.
By clicking on the Clear button, you can delete the locally downloaded files.
Shared clipboard
XPipe maintains an updated view of your local clipboard and also comes with remote-specific clipboards. This means that any files you have copied into your local system clipboard will be shown in the status bar:

Pressing Control+V in any remote file browser session will paste these files into the remote directory. In the same manner, you can press Control+C with a selection of remote files to put them into the XPipe clipboard. Pasting these files on another tab will then transfer these remote files to that system. If the copy-paste operation is done on the same system, the files are copied using a native copy command like cp.
Transferring files
Alternatively to using clipboards, to transfer files between different remote systems, you can simply drag and drop them as you would do normally. You can either use the tab pinning feature to easily drop files between two tabs or alternatively drag files over another tab to switch to it:
A transfer between two remote systems will not use up any intermediate file space, the data is transferred directly from the source to the target. You can see the transfer progress in the status bar at the bottom:
![]()
On the right, you have the ability to cancel the transfer. This will result in an only partially transferred file.
Transfer speeds
Due to the alternative implementation of how the file browser works internally by default, the transfer speeds might not be reaching their potential maximum when considering the network transfer speed. The main limitation of the transfer speeds are the individual shells involved of both the source and target systems. The stdio streams of any shell have a limit to their transfer speeds, and the transfer being dependent on two different shells stdio streams will make the transfer slower.
Especially Windows shells like cmd or PowerShell are significantly slower than POSIX compliant shells like bash. A more modern shell like pwsh for Windows has improved transfer speeds. Therefore, if you frequently transfer large files via Windows systems, installing pwsh with winget install -e --id Microsoft.PowerShell might make sense for you.
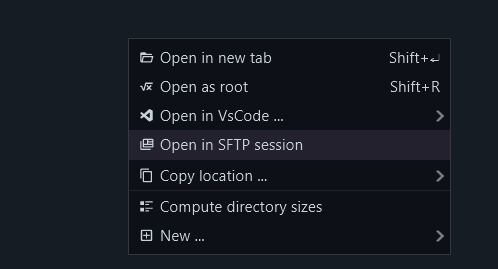
If you're looking to transfer large files and want to achieve optimal transfer speed for SSH connections, you can switch to using an SFTP session. You can switch to pure SFTP in any SSH-based file browser session in the context menu for a directory:
Editing files
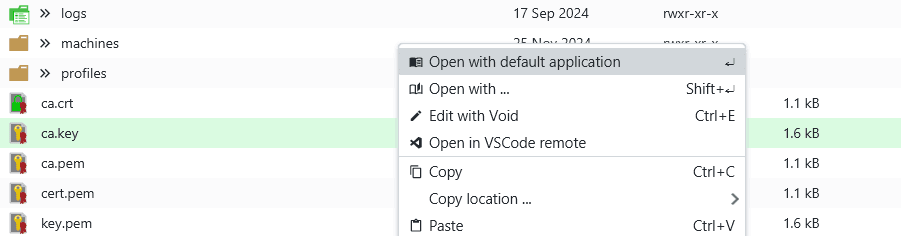
Right-clicking any file and selecting the edit option will open the file in your selected text editor locally.
You can also choose to do this automatically with a double click by enabling this option in the settings menu:

Editing a file in an editor will download the remote file, open the downloaded file, and upload any changes you make to the remote. XPipe will automatically watch any changes you make to the local file and upload the changed file. The same applies if you open the file with any other local program. For example, if you open a remote image file with an image manipulation program, changes you save to the local file will get applied to the remote file by XPipe.
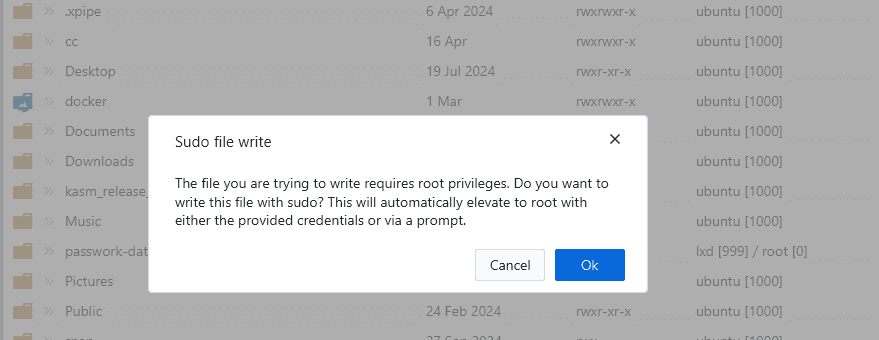
If the remote file requires root privileges to write, and you are currently not root, XPipe will prompt you to elevate the operation with sudo automatically:
If you don't want the changes to apply, you can choose to download the file instead and then open it.
Selecting files
If you are navigating a directory that contains a lot of files, you can speed up the process of locating a file using the filter functionality:

You can select multiple files by holding the control key while performing your selection. To select a range of files, use the shift key when clicking on a file to select all files in between. You can move and expand the selection using the arrow keys in combination with the shift key.
There is also a quick jump functionality that you can access by typing the first view characters of the file name you are looking for. For example, if you are looking for the file log.txt, typing l, o, and so on will automatically jump to the file once your typed file name is unambiguous. If you have multiple files starting with the same first few characters, you will have to type a few more until the file can be uniquely identified.
Navigation bar
The navigation bar is a versatile component allowing you to effectively navigate between different directories:
You can navigate forwards and backwards and also jump to any directory you visited before you using the history menu:
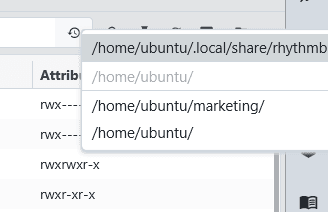
You can either type in the path directly or click on any parent directory in the file path directly. You can also copy and paste paths copied from somewhere else that are surrounded with quotes, these are automatically removed. Furthermore, you can also enter file names directly. This will automatically jump to the parent directory containing the file if it exists.
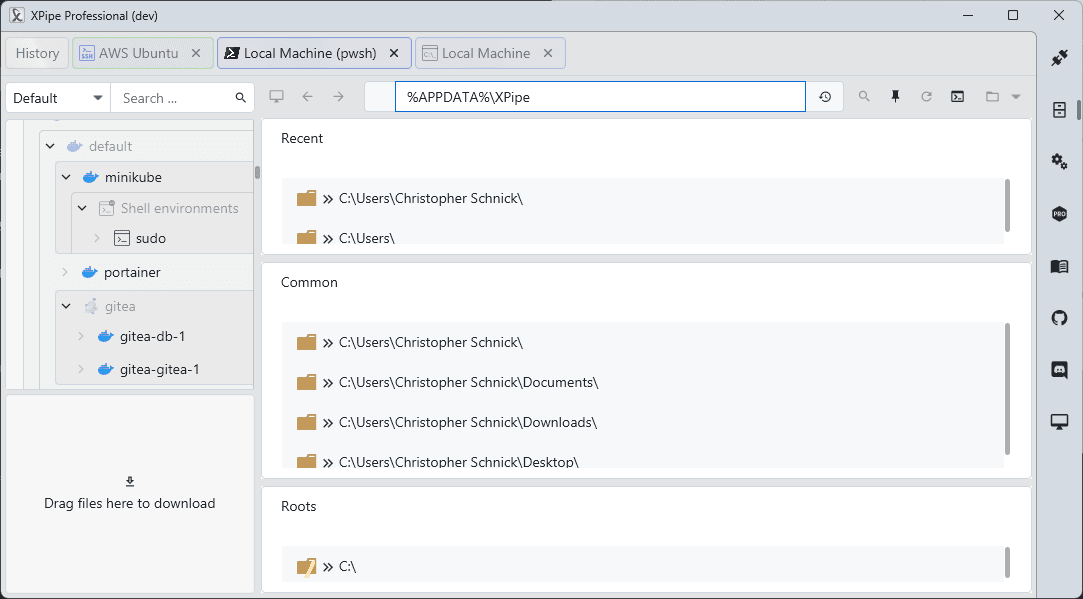
The path field also supports dynamically resolving file paths that contain environment variables or other expressions:
The navigation bar also has a filter that you can apply at any time:
Running commands
The navigation bar can also serve as a command runner. You can input commands you want to run in a terminal and your command will be run in the current working directory.
For example, you can start off with this:
Then, enter the command you are planning to run and hit enter:
A terminal process with your command will open:
Columns
The available columns of file properties vary depending on the operating system, shell support, and whether the window size can fit all of them.
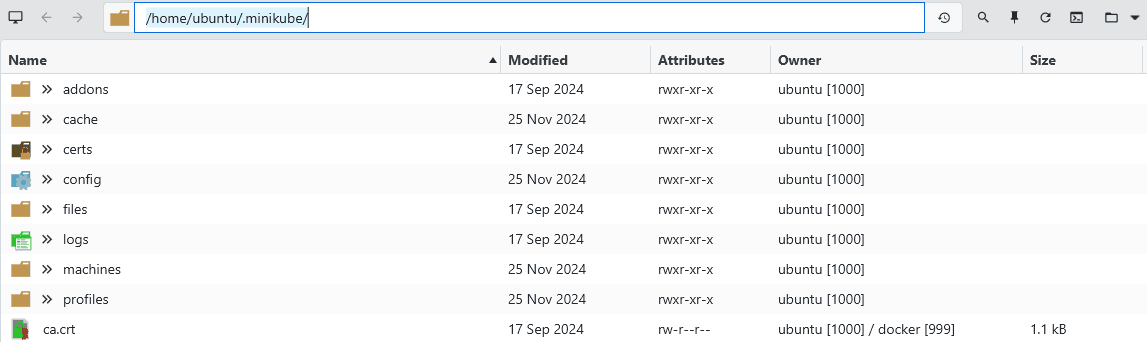
The following columns are available:
The following constraints affect whether they are shown or not:
- The owner column only displays both user and group ids if they differ. If they are the same, they are merged into one
- The owner column is only available for Linux systems
- The owner column is only shown if the window size is large enough
- The attributes column is only shown for non-Windows systems
- The modified column is only shown for shells that can print dates in a standard format. This is not supported on Windows systems with a cmd shell if this system language is not set to english
You can sort the file list by any different column property, for example, the file modification date by clicking on the top columns:

Tree view
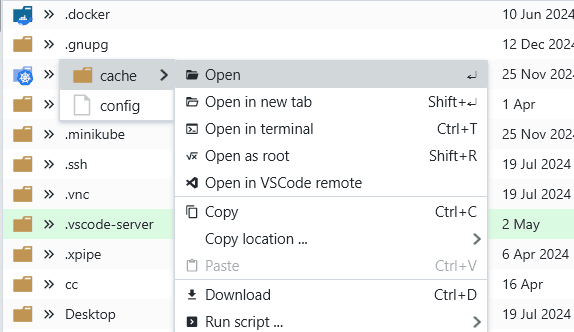
The file browser comes with a quick access menu that you can open for each directory by clicking on the arrows:
This menu allows you to go deep into any directory without moving away from your currently selected directory in the main view. Any directory you go into is loaded in real time if you hover over it for a short period of time, meaning that it might take a few moments to access a directory in the tree view if it is a large directory.
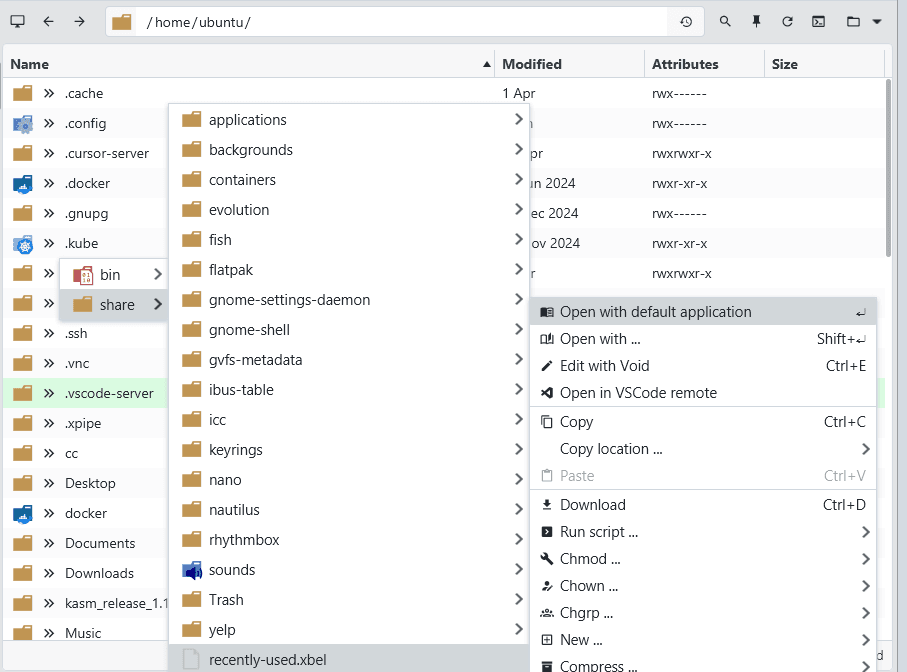
You can access the context menu for files by just clicking on them. You can access the same context menu for directories by right-clicking on them in the tree view:
The tree view is fully controllable using your keyboard. You can navigate the menu using the arrow keys. To open the context menu for your current selection, press space. To exit the tree view menu, press escape.
VsCode workspaces
If you are using VsCode, you might be familiar with the remote workspaces feature where you can open and navigate remote directories via SSH. This feature is also integrated in the XPipe file browser so that you can automatically launch this remote workspace in VsCode automatically via the Open in VsCode remote option.
Note that this operation might occasionally not properly open the remote system in VsCode if VsCode was not running before. When that happens, just trying again should make it work.