Synchronization
Synchronizing connection data across multiple systems
Introduction
XPipe can synchronize all connection configuration data across multiple installations. It uses your own remote Git repository for that purpose. You can synchronize with this repository in all XPipe application instances. Every change you make in one instance will be reflected in the repository. This approach means that you have full control over your data, as you can freely choose how and where to host this repository.
Setup
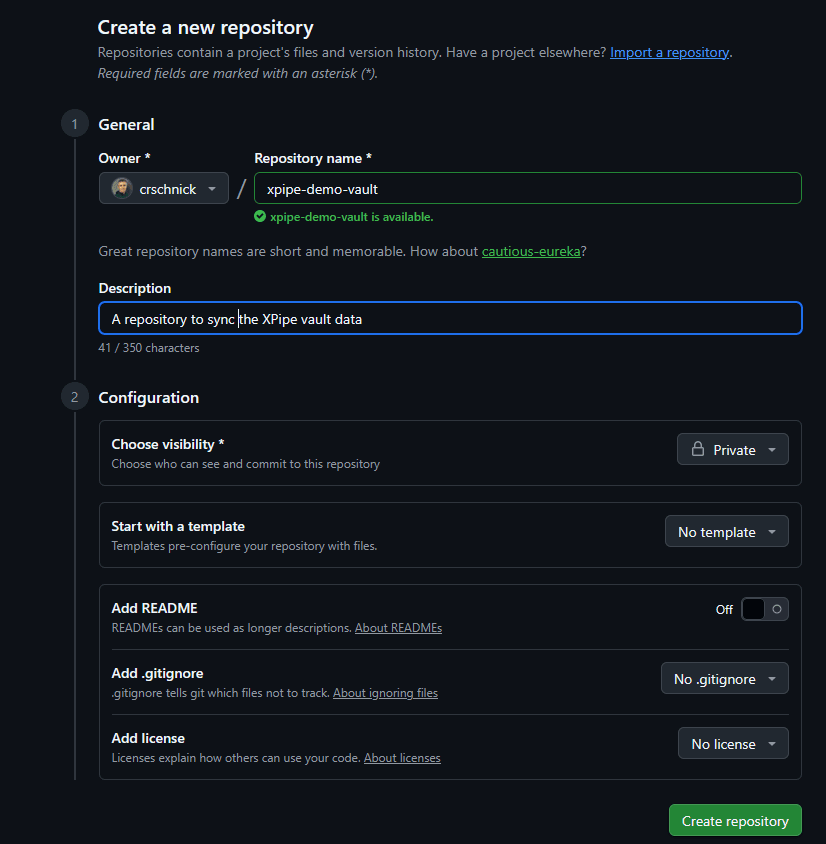
To start off, you need to create an empty git repository with your git provider of choice. This repository should be private:
Next, copy and paste the URL into the XPipe remote repository setting:
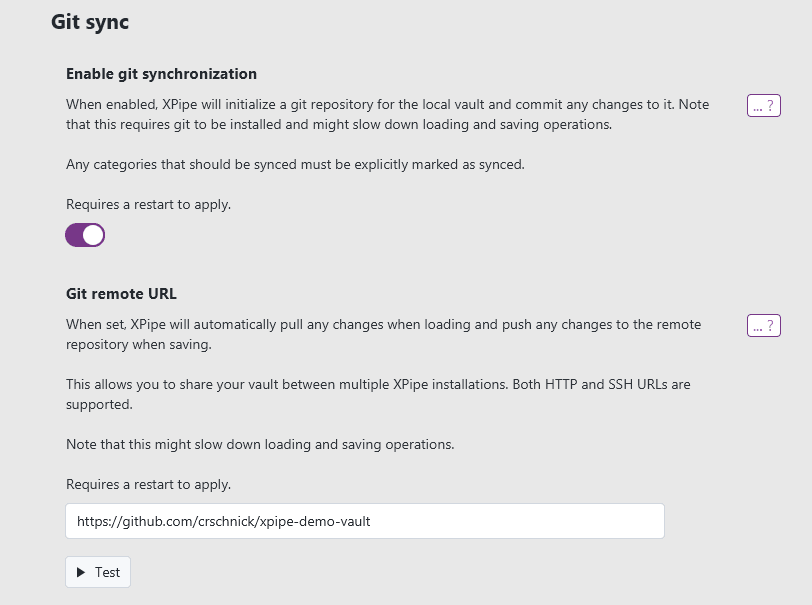
You can check if the configuration works by clicking on the Test button.
You also need to have a locally installed git client ready on your local machine. You can try running git --help in a local terminal to check. If you don't have one, you can visit https://git-scm.com to install git.
There are multiple ways to authenticate. Most repositories use the git over HTTPS scheme where you have to specify a username and password / token. Some providers also support the SSH protocol, which is supported as well by XPipe.
Password / token auth
For the usual password / token authentication when using an HTTPS git URL, you will need to provide credentials. If no credentials are configured, XPipe will ask you for your credentials when they are required. If you have already configured your git CLI to store your credentials, then XPipe should pick them up automatically. If you haven't done that yet, you probably don't want to enter your credentials every single time in XPipe.
To automate the authentication process in the git CLI in general, there are multiple ways to store your git credentials and handle authentication. Many special tools like the GitHub CLI handle the whole authentication automatically for you when installed. Some newer git client versions can also authenticate via special web services where you just have to log in into your account in your browser. These approaches will store your credentials for your git client using a credential helper. For more information, see:
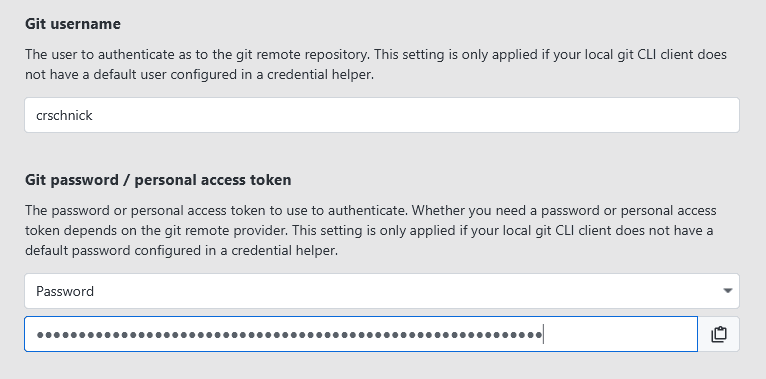
Alternatively, if no credentials are configured for your local git client yet, you also have the option to specify them in XPipe itself without making them available to the entire git CLI client:
Nowadays, most providers require a personal access token (PAT) to authenticate from the command-line instead of traditional passwords. You can find common PAT pages here:
- GitHub: Personal access tokens (classic)
- GitLab: Personal access token
- BitBucket: Personal access token
- Gitea:
Settings -> Applications -> Manage Access Tokens sectionSet the token permission for repository to Read and Write. The rest of the token permissions can be set as Read. XPipe just needs enough permissions to commit changes to the private repository.
SSH auth
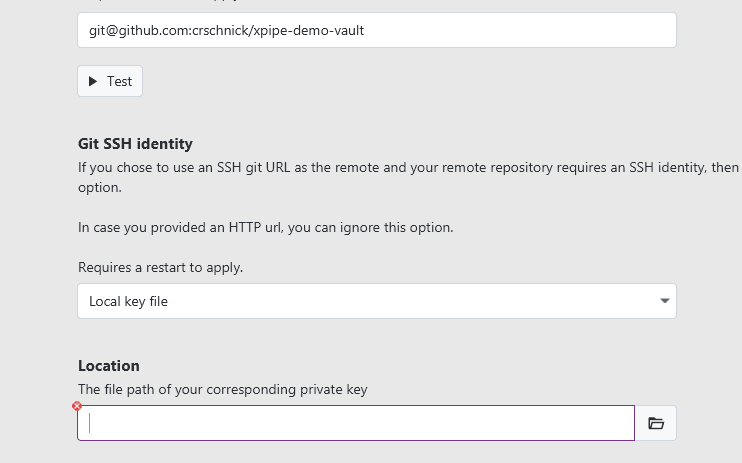
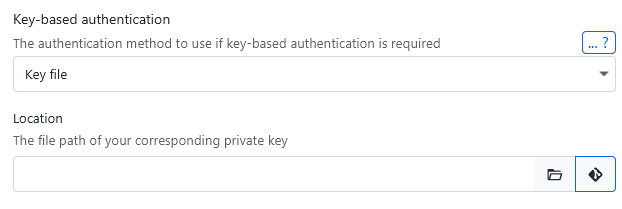
As an alternative to this password / token authentication, git also supports the SSH protocol. With such a setup, you can authenticate to your remote git repository using an SSH key. For this, you can use the full functionality of XPipe's key handling, including advanced key retrieval methods such as agents. XPipe will automatically detect if you enter an SSH git URL and show additional options for authentication:
You can find common SSH docs pages here:
- GitHub: Adding a new SSH key to your GitHub account
- GitLab: Use SSH keys to communicate with GitLab
- BitBucket: Provide Bitbucket Cloud with your public key
First commits
If everything works out, XPipe should push an initial commit to your remote repository once you restart XPipe with a valid git configuration.
By default, no connection categories are set to sync so that you have explicit control on what connections to sync. So at the start, your remote repository will be empty, which is intentional. You can start syncing connections and categories by marking them explicitly to sync.
Syncing categories
To have your connections of a category put inside your git repository, you first need to change its sync configuration.
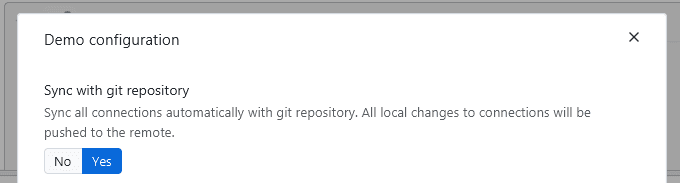
In your Connections tab under the category overview on the left side, you can open the category configuration menu either by right-clicking the category or click on the ⚙️ icon when hovering over the category, and then clicking on the 🔧 configure button.

Then, set the Sync with git repository value to Yes to sync the category and connections to your git repository.
This will add all syncable connections in that category to the git repository.
The sync settings for a category are inherited by default from its parent if not explicitly set.
Adding external files to git
When everything is set up, you have the option to add any additional files such as SSH keys, identities, and various other data files to git as well. Next to every file chooser is a git button that will add the file to the git repository:
These files are then added to the git vault data directory and committed in encrypted form. This means that any files you add to git, such as keys, are only committed in encrypted form just as other secrets.
Local connections
Any connection located under the local machine cannot be shared as it refers to connections and data that are only available on the local system.
Certain connections that are based on a local file, for example, SSH configs, can be shared via git if the underlying data, in this case the file, have been added to the git repository as well.
GPG signing
If you have enabled GPG signing of your git commits, then this should work as expected as XPipe use this the same configuration as your git CLI that you normally use.
The only more complicated case is on Windows where you can have potentially two gpg executables with the git bash gpg and the native Gpg4win executable. By default, XPipe will choose the gpg client which has keys configured in it, under the assumption that you only use one of the two clients. If you switch between using both gpg clients, make sure that your git GPG key is available in gpg4win, as this client will be used if both clients have keys added.
Local repositories
If you don't want to host your remote git repository on some server somewhere and instead prefer a local option, for example, a flash drive, to sync data between machines, you can do that as well.
Git repositories
Git and XPipe support a file:// URL as well in addition to the more commonly used https and SSH URLs. You can create a local sync repository as follows:
cd <external repo dir>
git init --bare
Note that the --bare option is important, without it, git can't push to the repository.
Then, you can configure a file URL in XPipe:
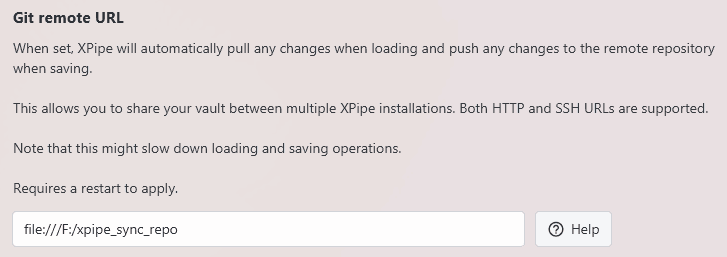
Note that the syntax for a file URL is file://<absolute path> where the absolute path on Windows has to be adjusted to use forward slashes and start with one as well. The path /home/user/xpipe_repo on Linux would become file:///home/user/xpipe_repo and the path C:\Users\User\xpipe_repo on Windows would become file:///C:/Users/User/xpipe_repo.
Plain directories
As an alternative to a local git repository, you can also choose to just sync to a plain directory instead:
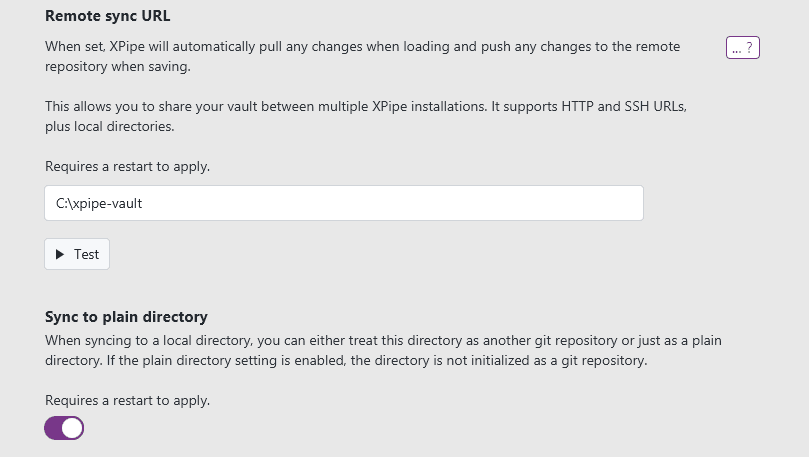
This will also sync to a directory, but without initializing a git repository. It is just a plain data directory. This option works, but lacks several more advanced features a git repository can offer like a version history for your data. It is only recommended to be used if you are already using another solution to sync your data.
Sync frequency
By default, XPipe will instantly commit and push changes to the remote when they are made. This guarantees that all information is always as up to date as possible, which comes in useful when you are running multiple XPipe instances at the same time or using a team vault with multiple team members.
However, if you don't need this, and use the git sync primarily as a backup functionality, you can choose to only sync once a session or even fully manually:
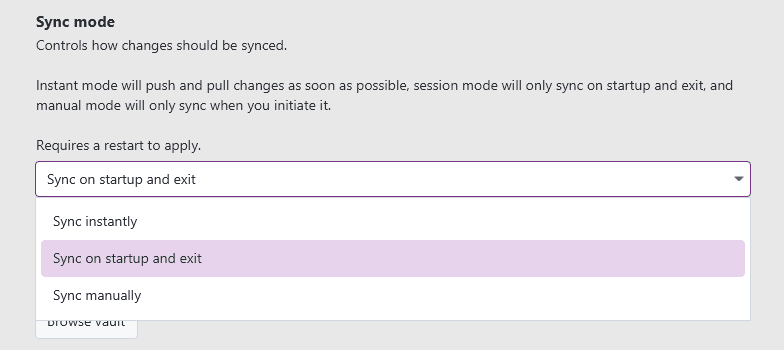
Reducing the sync frequency will reduce the amount of commits by squashing them. It will also reduce the amount of times changes are pushed to the remote.
Vault encryption
By default, only sensitive connection details like passwords are encrypted. Other information like keys, custom files, and more are always encrypted. In case you want to encrypt everything like simple hostnames, connection notes, etc., you can look into enabling the respective setting:
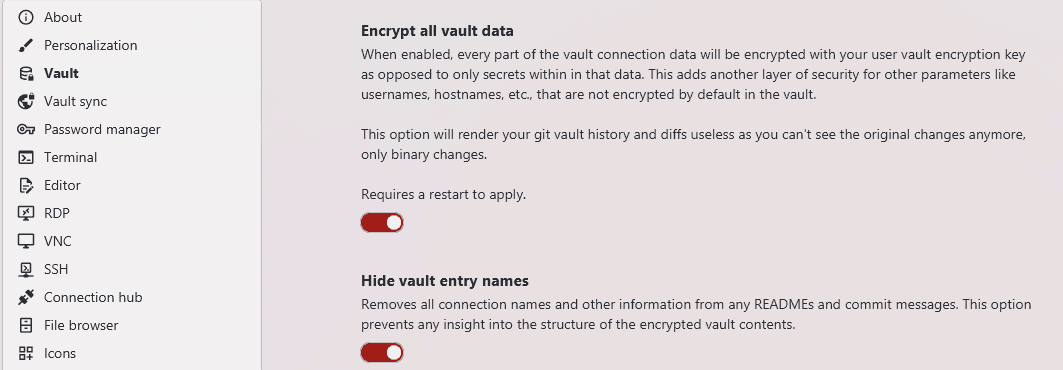
This will make individual commits for simple connection changes unreadable due to all information being encrypted. For further privacy, you can also choose to hide all the connection names from commit messages or README files to not expose any information about the types of connections in the vault.
Which specific encryption key will be used depends on whether you have configured any vault users or a team vault. It is strongly recommended to use create a vault user with a custom password when enabling this setting to guarantee the strongest possible encryption for your data.
Reverting to a previous commit
In case anything goes wrong, or you just want to restore the vault at an earlier date, you can do so easily using the normal git reset functionality. The first step is to find the SHA of the commit you want to revert to. This will look like this: 42e2e5af9d49de268cd1fda3587788da4ace418a. You can find the commit SHA in any web interface of git your provider or on the command line with git log.
Once you have obtained the SHA, you can run the following commands:
cd "<User Home>/.xpipe/storage"
git reset --hard <SHA>
git push --force -u remote-storage HEAD
The force push is required to overwrite the remote repository. Without the push, XPipe would just pull the changes from the remote repository again.
Note that if multiple instances are synced to this repository, you will have to perform the reset on all instance repositories. Otherwise, starting another XPipe instance where the local reset was not performed, will push the reverted changes again.
Team vaults
The git synchronization also supports multiple different users or groups for when you are working with your team. It allows each team member to share access to systems that are designated to be available to all users, while also allowing each user or group to keep selected systems and authentication options private.
For more information, see the team vaults page.