Connection hub
Using and navigating the connection hub
Introduction
The connection hub is the central component of XPipe and the place for managing and accessing all your connections. While the basic usage should be pretty self-explanatory, this page covers some of the more advanced topics, which will come in handy when dealing with an ever-growing collection of connections.
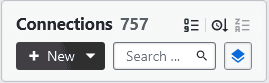
Batch mode
To perform actions on multiple systems, you can enable the batch mode:
When this mode is enabled, you will get checkboxes for each connection, to include them in the current batch. When you have selected every connection you want, you can run in action on all of them:
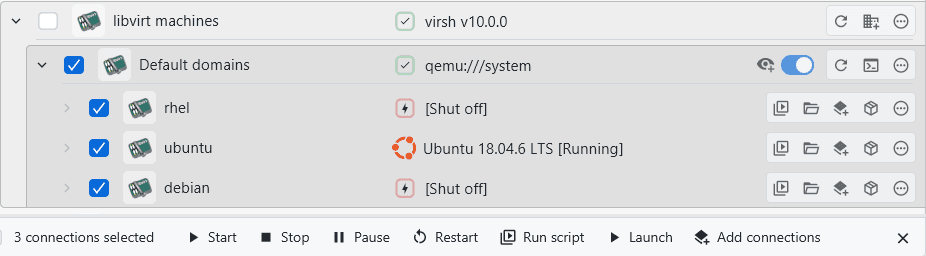
Parent group entries, like the VM root entry shown above, are not included in the batch selection even when they are selected, but can be used to quickly select all child connections. You can see that in the screenshot above where only the 3 individual VMs are counted for the selection.
You can also mix multiple different types of connections in your batch selection, you are not limited to only one type of connection. If you mix connection types, only actions that can be applied to all connections will be shown. For example, the following selection will still show actions for shell connections in general:
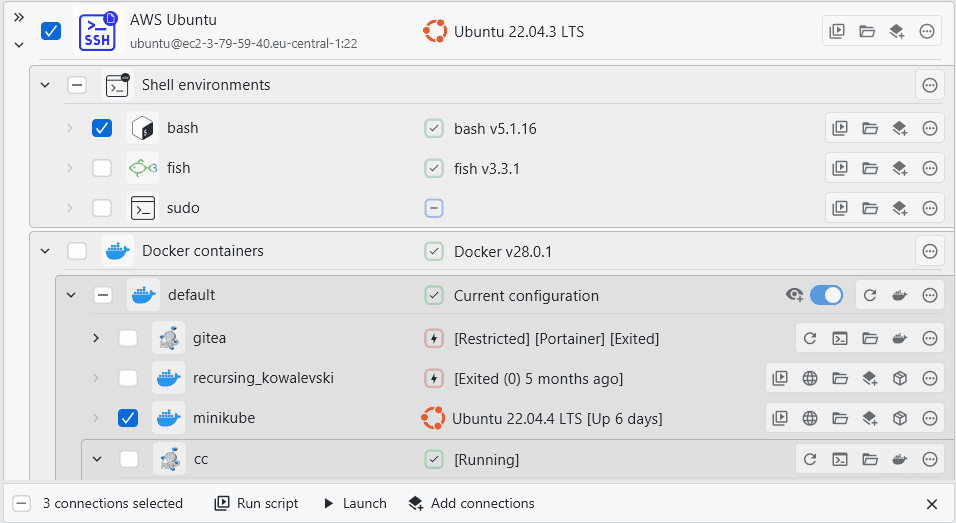
Even other connections than shell connections support some actions, however most of the time, the available actions are pretty limited:

Categories
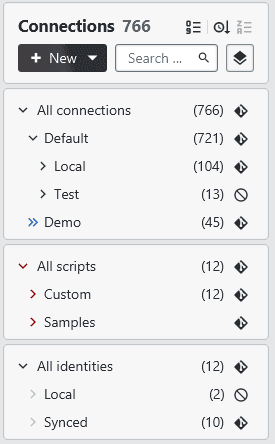
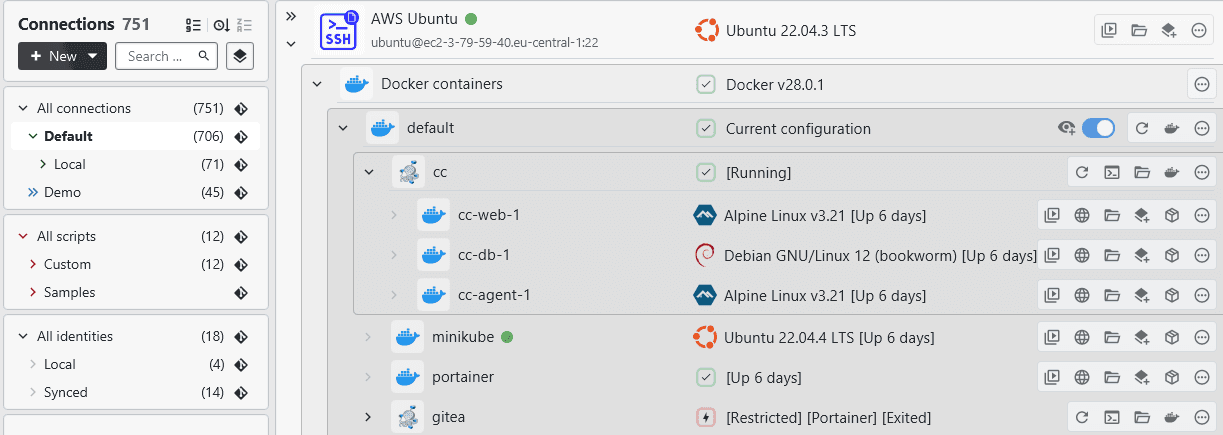
As your collection of connections grows, organizing them into different categories/folders becomes more important to keep an overview and maintain structure:
The main advantage of having connections in a category is to configure shared settings and behavior for all the connections contained in it. Then, splitting the connections even further between subcategories allows you to have a finer-grained control over these shared category settings by overriding the parent settings.
A subcategory can also be seen as a sub-view of the parent category. Selecting the subcategory will only show the children connections contained in it without anything else. For example, when taking a category with many connections like this:
Then assigning individual containers to a subcategory will give you a detailed subview if you select the subcategory:

For more information on how to create these child connections like for these containers automatically, see the breakout categories section.
Configuration
Categories contain a variety of different options to control how they handle and how contained connections behave. You can find this configuration dialog in the category settings menu:

Once clicked, you enter the recording mode. The next action you perform in the GUI will not be run as normal but will be opened in the action shortcut dialog instead:
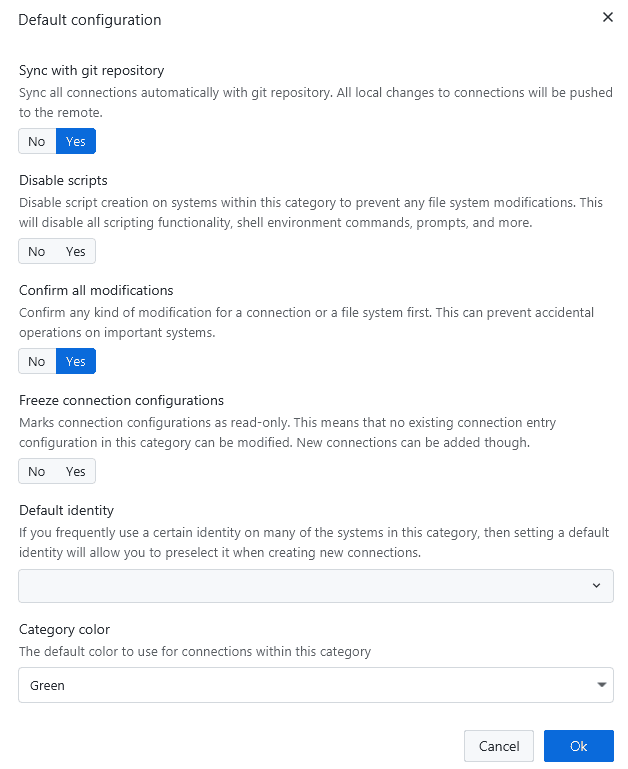
Each option uses inheritance to determine the effective value. If an option is not set, the option of the parent category will be applied, and so on. This means that you don't need to set an option for each category, only one parent. Once an option is set, you can unset it in the dialog by clicking on the selected value again.
Shared identities
In some cases, especially when dealing with a lot of connections in a category with the same login credentials, you don't have to assign an identity to each connection separately. Instead, you can configure a default identity for the whole category, which will be then automatically assigned to all newly added connections in that category:

This is especially useful if you combine it with the breakout categories. For example, if you have 10+ VMs with all the same login details, first creating a breakout category for the VMs, then assigning the default identity, and finally refreshing the VM connections will assign the identity.
Breakout categories
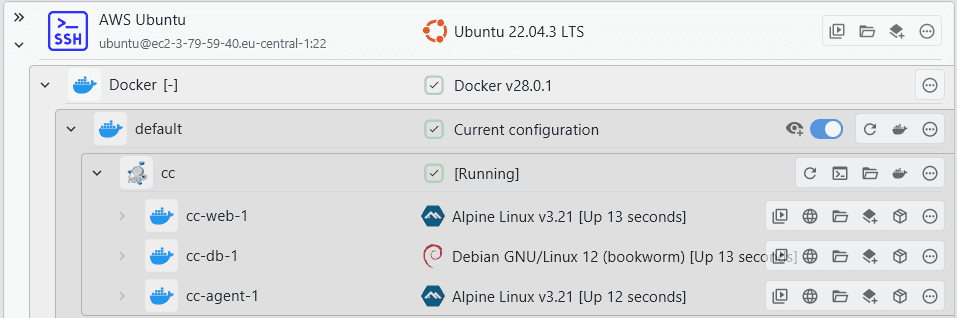
When dealing a lot with deeply nested connections, it might become tedious to navigate to the right system in a long list of nested connections:
As a solution to this problem, you can create breakout categories for entries that contain a lot of children. For example, in this screenshot, the default docker context can be converted into a standalone category where the children become top level entries. You can find the breakout category action here:
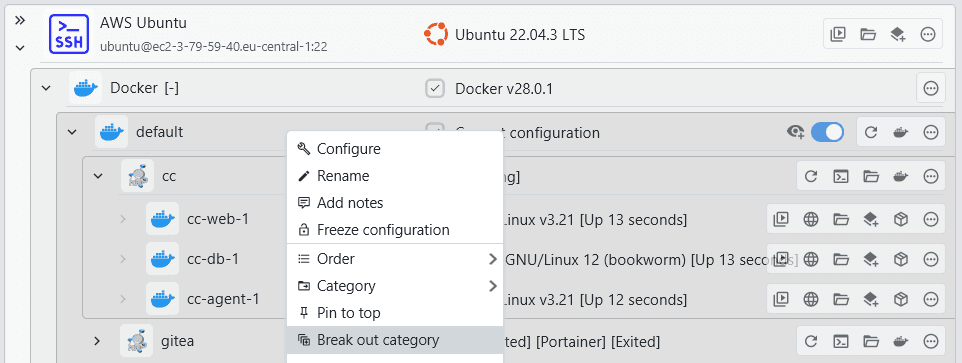
This will create a new subcategory and automatically move all child connections into it:
Whenever you refresh the parent, the default docker context, any new container entries are also added to the breakout category. You can also create further nested breakout categories on systems within a breakout category.
Ordering
As your connection grows, ordering individual connections in relative to their siblings will improve your user experience. By default, XPipe has two sorting mechanisms that work sequentially:
- Each connection has an individual order index that you can set explicitly. The smaller the index, the more on top a connection will be shown. By default, every connection has an order index of 0
- In case the primary order indices are not set, XPipe will use a default order. This can either be a last access date timestamp or an alphabetical order. By default, XPipe uses the last access timestamp order, meaning that connections will go on top of the list as soon as you access them
You can see the currently active ordering mode in the status bar:
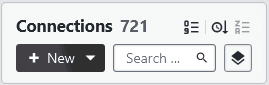
In the screenshot, you can see that the primary index-based order is set to ascending, and that the default order is set to ascending last access. You can toggle the orders between ascending and descending by clicking on them.
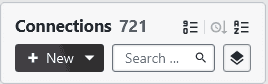
In this case, the primary order is set to index-based descending, and the default order is set to alphabetical ascending.
You can assign these primary order indices in the order menu:
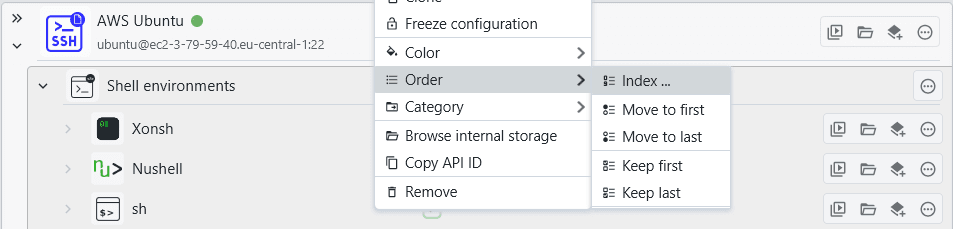
Move to first/last will assign the next smallest/largest index value so that the connection is shown on top. Keep to first/last will assign the smallest/largest possible index, so that the connection will stay on top/bottom all the time, regardless of what other indices you set for other connections.
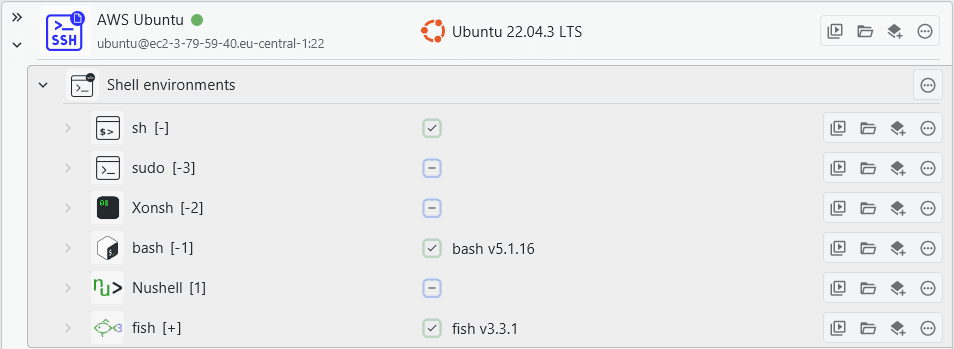
Explicitly assigned indices will show up next to the connection name like this:
Connection notes
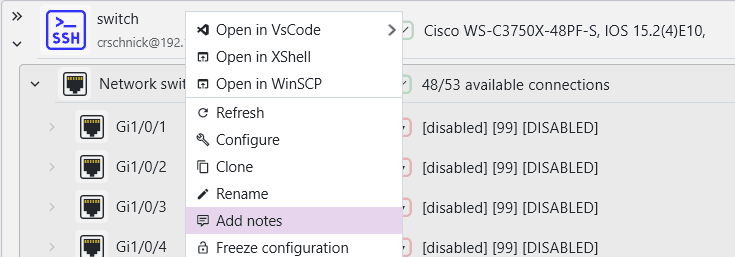
For each connection, you have the ability to add custom notes. This can be any kind of information that you want to keep track of for certain systems. To add notes, you can use this option in the context menu of a connection:
A dialog will then open were you the current connection notes are previewed as markdown:
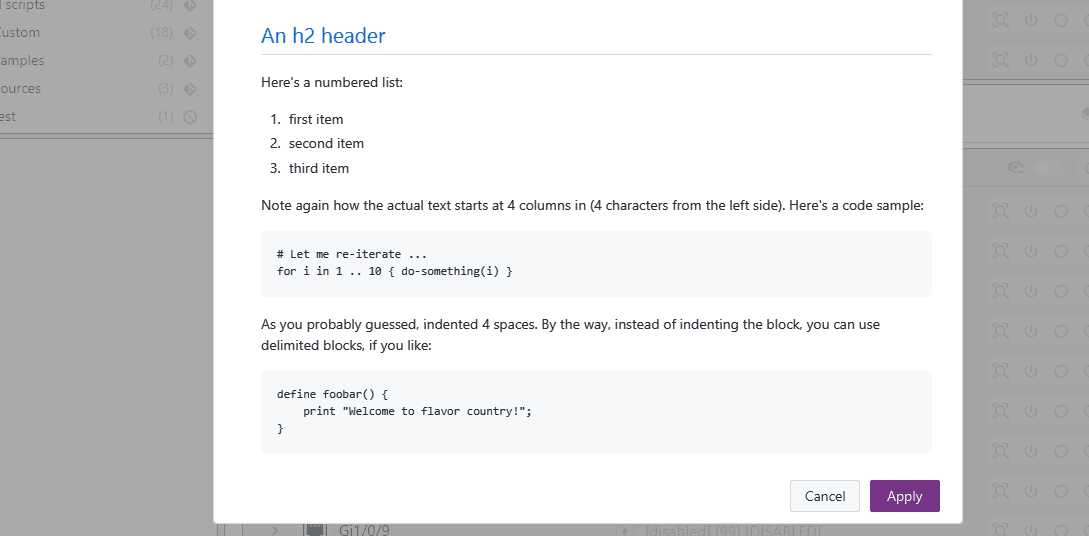
The notes can be edited via your text editor by clicking on the edit button in the top right corner of the markdown content:
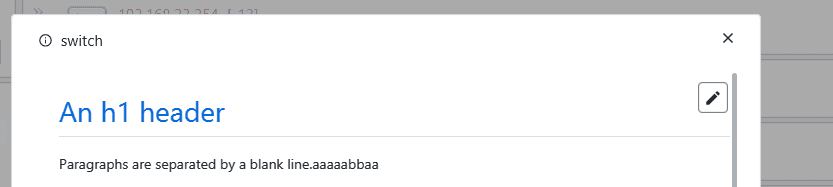
Existing notes can be shown later on by clicking on the notes button which is visible if a connection entry contains notes:

If you are rendering complex markdown syntax which is not considered the universal standard, some elements might not be rendered correctly. This can, for example, be a markdown-based diagram. In that case, it makes sense to open the markdown content straight in an external text editor that supports those advanced rendering features in a markdown preview. You can open the editor without showing the notes dialog within XPipe by shift-clicking the notes button instead.
If you're looking to securely store the notes content, you can take a look at the different vault encryption methods.
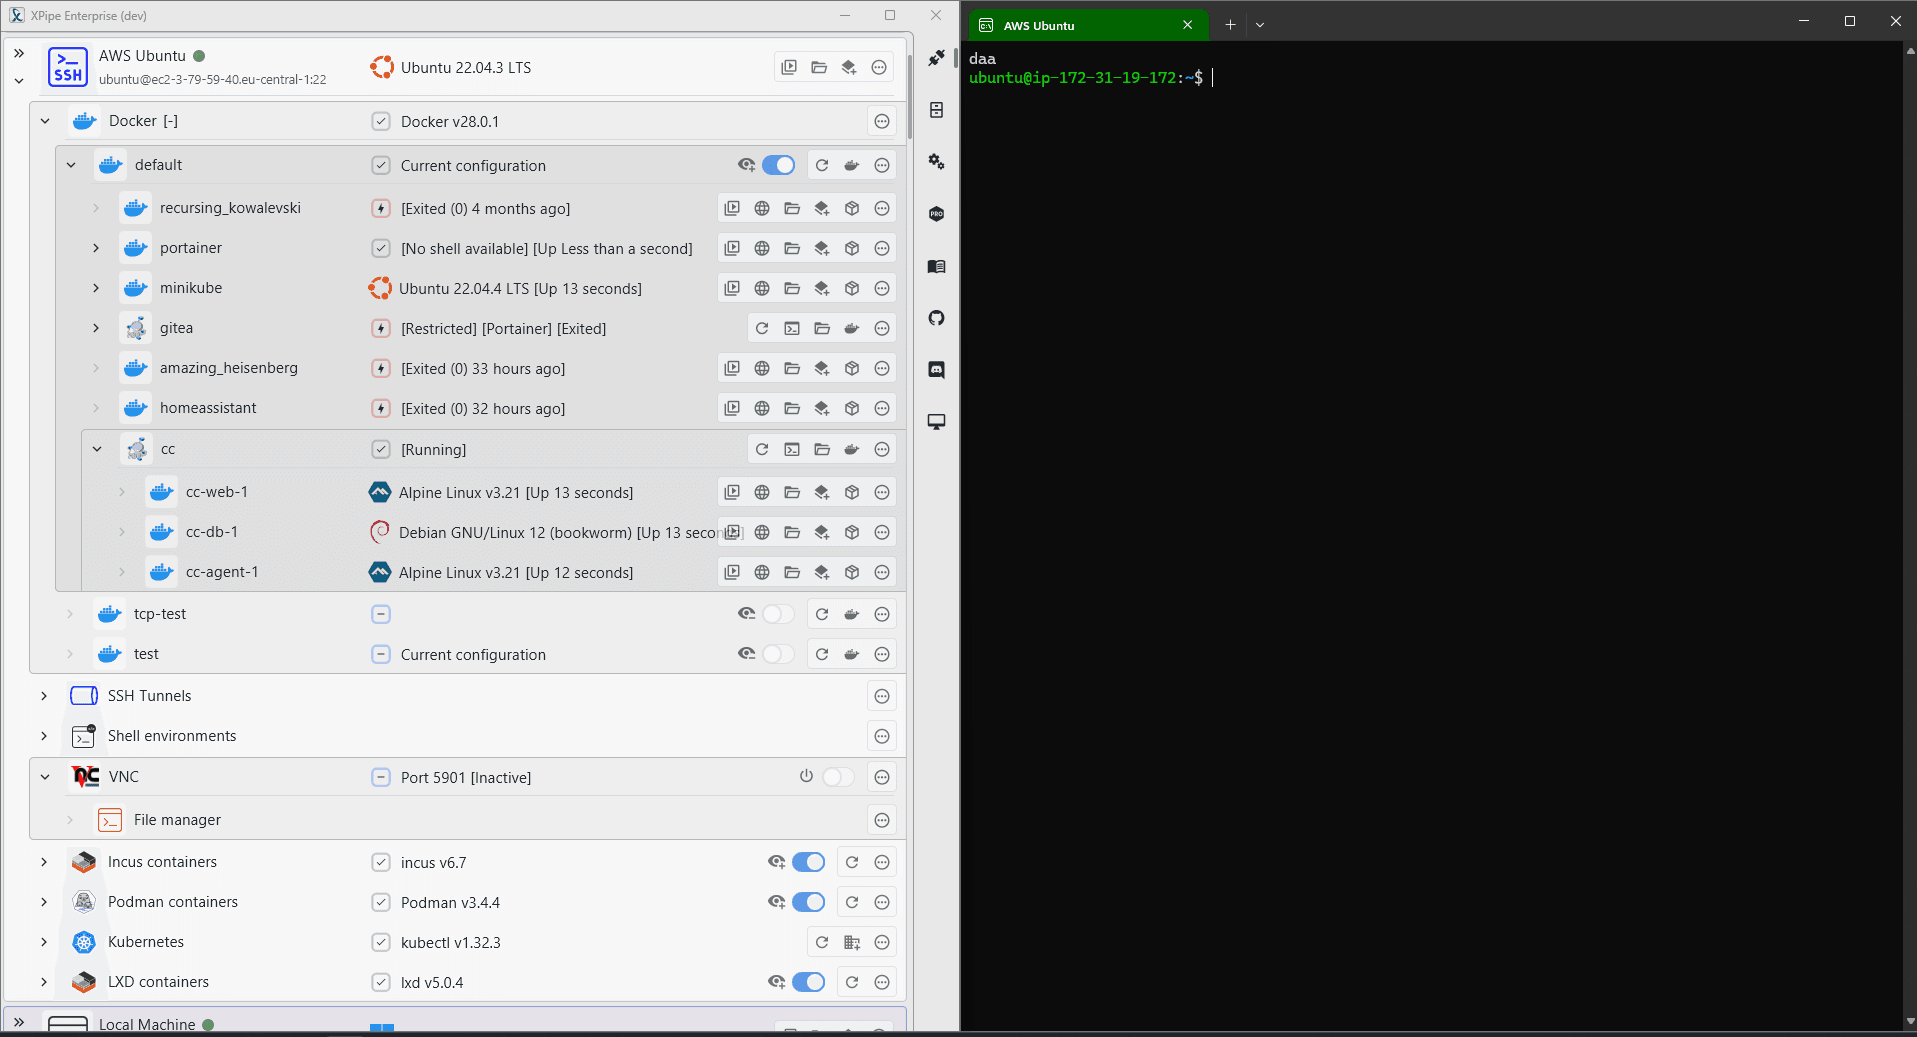
Compact mode
The connection hub interface will compact itself in situations where the window width is small. This gives you more space for your connections.
One use of this to enable a tiling window layout with an external terminal, for example. You don't need some kind of tiling window manager, every OS nowadays supports some form of basic window tiling. Having the terminal on one side and the connection hub on the other, makes optimal use of the space.
Here is a sample of the Windows 11 snapping functionality to split the screen layout:
Icons
If you are looking to fully customize all your connections, assigning custom icons might be a good start. Any connection can be freely assigned any available icon:

You can assign a custom icon to a connection by either clicking on the connection icon or in the right-click context menu of a connection. This will bring up the icon chooser dialog:

The same can be done for categories as well, clicking on the icon will bring up the same dialog:

Icon sources
Custom icons are not shipped with XPipe directly. Instead, there is the possibility to configure custom icon sources in the settings menu. This can either be a local directory or a remote git repository containing .svg files. XPipe only supports .svg icons, so it will only pick up those from any sources. Icon sources can be added, removed, and also disabled:

By default, XPipe ships with a git icon source for https://github.com/selfhst/icons, a repository of freely licensed icons for common services. If you don't want to retrieve icons from there, you can just disable the icon source with the checkbox.
Furthermore, there is also a synced custom icon directory available if you are using git sync. This helps you have access to all your custom icon files on any synced system.
If you want to use other repositories or directories of icons, you can easily add them. The first time you open icon choice dialog, it will show a button to refresh the icon sources first. Whenever you modify the sources list, you will also have to refresh the icon storage again. XPipe does not automatically pull changes from icon repositories as this can be a time-consuming operation.
For more inspiration, see the following repositories you can add: